Since moving to the NBN my formally very sticky IP address offered by Telstra has become far more dynamic. Usually this wouldn’t be an issue, however because I run a couple of services from my home internet connection, this presented me with an issue that I had long been meaning to deal with but never had the need to.
The Setup
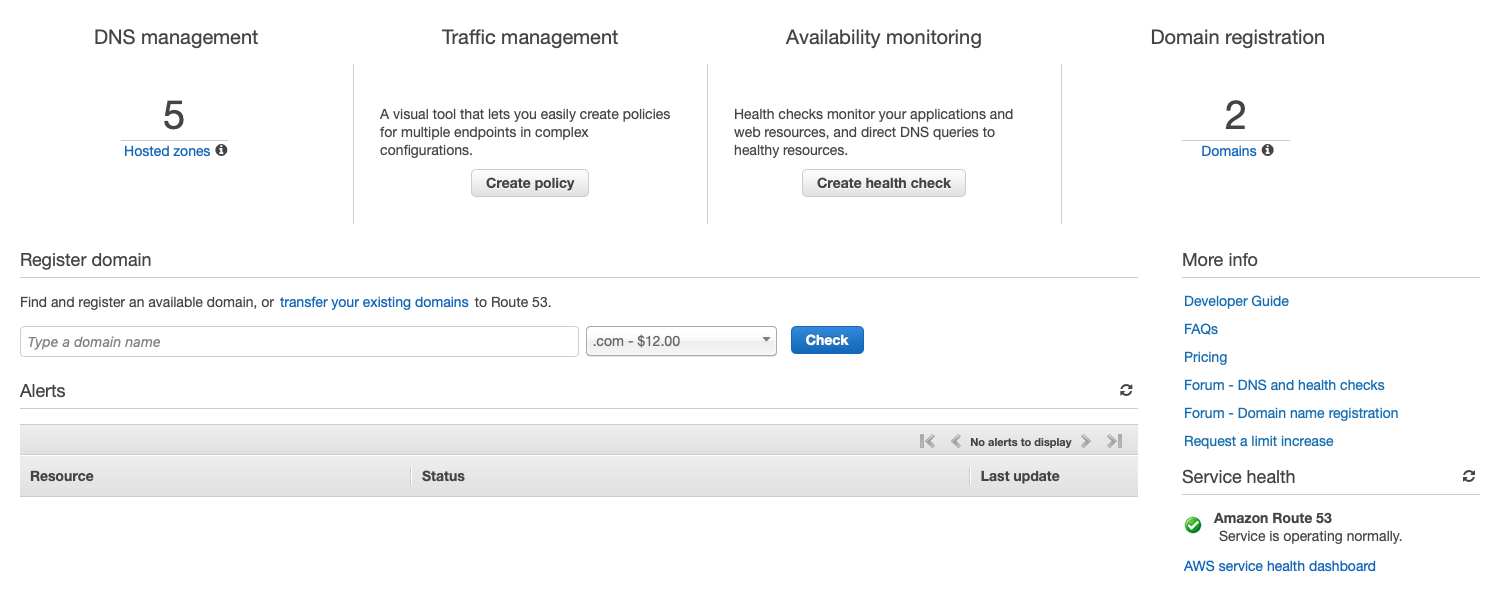
My DNS is hosted most on Route 53 by Amazon Web Services. Two services run from home, an infrequently used VPN and SSH.
The Issue
For whatever reason one of the following two things occurs on a semi-regular basis:
- My NBN Cable NTD restarts itself
- The NBN network drops my connection
After either of these events my router issues a DHCP requests once the link is back up and is issued with what is almost always a different IP address. Currently, I have to then login to the AWS Console to update the public IP address.
The Solution
AWS IAM
First things first, let’s do this securely and setup an IAM user that only has access to Route53
- From with the IAM service in the AWS Console, select ‘Users’ in the sidebar and then ‘Add User’
- Name the user something appropriate like
Route53Updater - Provide programatic access only, there’s no reason for this user to ever be logging into the console
- For such a limited use I chose to directly attach policies, however the proper way to do this would be to create a role
- Create a new policy with the below JSON policy
- Refresh the policy list and select the new policy
- Save the
Access KeyandSecret Keysomewhere, you will not be able to view them later.
{
    "Version": "2012-10-17",
    "Statement": [
        {
            "Sid": "VisualEditor0",
            "Effect": "Allow",
            "Action": [
                "route53:GetHostedZone",
                "route53:ListHostedZones",
                "route53:ChangeResourceRecordSets",
                "route53:ListResourceRecordSets"
            ],
            "Resource": "*"
        }
    ]
}
There is now a user with an attached policy to manage Route53 records.
Update Script
Using the Boto3 package and 30 odd lines of Python, updating the IP address of a record in Route53 programatically isn’t actually that difficult.
Specify the Access Key and Secret Key of the IAM user at the top of the file. The HOSTED_ZONE_ID that contains the record to be updated and Name within CHANGE_BATCH_TEMPLATE stores the fully qualified domain name of the record.
#!/usr/bin/env python3

import boto3
import requests

# AWS authentication.
AWS_ACCESS_KEY = ''
AWS_SECRET_KEY = ''

r53 = boto3.client('route53',
                   aws_access_key_id=AWS_ACCESS_KEY,
                   aws_secret_access_key=AWS_SECRET_KEY)


# Get the IP address.
r = requests.get('https://checkip.amazonaws.com')
ip = r.text

# Configure the request values.
HOSTED_ZONE_ID = ''

CHANGE_BATCH_TEMPLATE = {
    'Changes': [{
        'Action': 'UPSERT',
        'ResourceRecordSet': {
            'Name': '',
            'Type': 'A',
            'TTL': 60,
            'ResourceRecords': [{'Value': ip}]
        },

    }],
    'Comment': 'Dynamic DNS update.'
}

# Submit the request.
r53.change_resource_record_sets(ChangeBatch=CHANGE_BATCH_TEMPLATE, HostedZoneId=HOSTED_ZONE_ID)
Download DynDNS_R53.py here.
Then setup a cronjob, launchctl or any other job scheduler of your choice to run the script as often as is required. Ensure that the first execution of the script works and then this should be largely a ‘set and forget’ setup!
The Future
Join me hopefully next week when I modify this script for a more interesting use of Dynamic DNS.